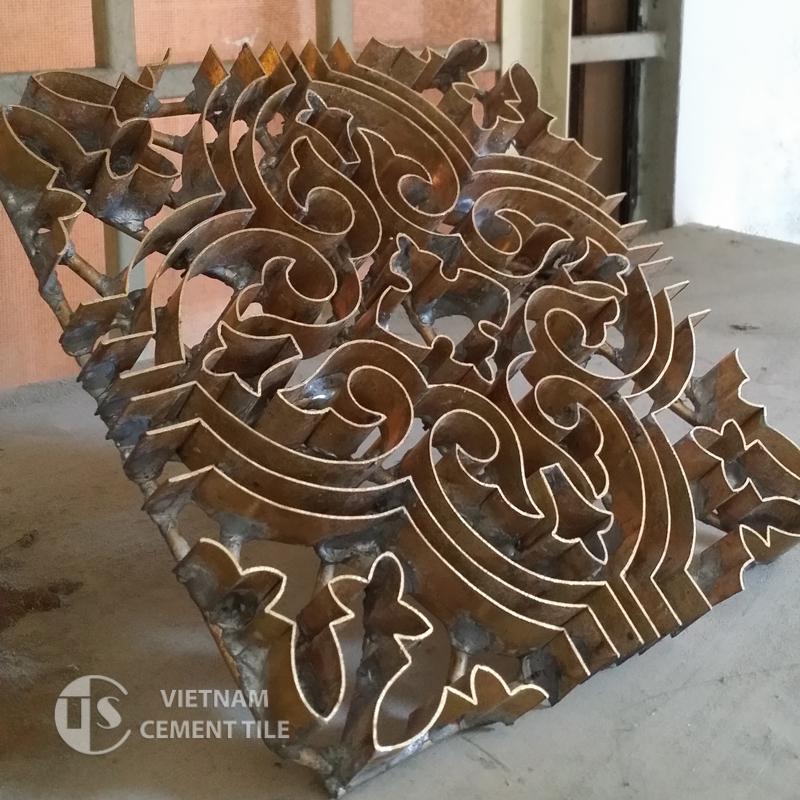
Step 1: Preparing divider moulds and colours

Step 2: Placing divider mould into a steel mould
Steel mould is prepared and divider mould which moulds the tile design will be placed inside the steel mould.
Step 3: Pouring colours into the mould as the first layer
A liquid mixture consisting of white cement, natural marble powder, colour pigment, and additives (to be mixed to the right colour) is poured by hand into the mould. Different liquid mixtures will be needed to create different colours in one tile.
Step 4: Making next layers
Step 5: Pressing by hydraulic pressing machine
All the materials will be pressed by a hydraulic pressing machine. Moisture from the liquid coloured layer will be absorbed through the dry back layers. Tiles will be pressed twice to have good strength.
Step 6: Forming tile and taking out the tile from the mould
Tile has been formed and taken out of the mould. Now, we can see a beautiful tile with pattern and colours.
Step 7: Curing tile
After the forming stage comes to the curing stage. Tiles will be cured underwater and then placed on racks for curing at room temperature.
Step 8: Coating with sealer, checking quality and boxed
After tiles are dried completely, they will be treated with sealer to perfect the surface of tiles and go through serious quality control by checking piece by piece to carefully select really good tiles before packaging and palletizing.